mirror of
https://github.com/DarkFlippers/unleashed-firmware.git
synced 2024-12-21 04:11:48 +03:00
| .. | ||
| barcode_encoding_files | ||
| images | ||
| screenshots | ||
| views | ||
| application.fam | ||
| barcode_app.c | ||
| barcode_app.h | ||
| barcode_utils.c | ||
| barcode_utils.h | ||
| barcode_validator.c | ||
| barcode_validator.h | ||
| encodings.c | ||
| encodings.h | ||
| LICENSE | ||
| README.md | ||
Barcode Generator
A barcode generator for the Flipper Zero that supports UPC-A, EAN-8, EAN-13, Code-39, Codabar, and Code-128[1]
Note: Barcode save locations have been moved from /barcodes to /apps_data/barcodes
Table of Contents
Installing
- Download the
.zipfile from the release section - Extract/unzip the
.zipfile onto your computer - Open qFlipper and go to the file manager
- Navigate to the
appsfolder - Drag & drop the
.fapfile into theappsfolder - Navigate back to the root folder of the SD card and create the folder
apps_data, if not already there - Navigate into
apps_dataand create another folder calledbarcode_data - Navigate into
barcode_data - Drag & drop the encoding txts (
code39_encodings.txt,code128_encodings.txt&codabar_encodings.txt) into thebarcode_datafolder
Building
- Clone the flipperzero-firmware repository or a firmware of your choice
- Clone this repository and put it in the
applications_userfolder - Build this app by using the command
./fbt fap_Barcode_App - Copy the
.fapfrombuild\f7-firmware-D\.extapps\Barcode_App.faptoapps\Miscusing the qFlipper app - While still in the qFlipper app, navigate to the root folder of the SD card and create the folder
apps_data, if not already there - Navigate into
apps_dataand create another folder calledbarcode_data - Navigate into
barcode_data - Drag & drop the encoding txts (
code39_encodings.txt,code128_encodings.txt&codabar_encodings.txt) from theencoding_tablesfolder in this repository into thebarcode_datafolder
Usage
Creating a barcode
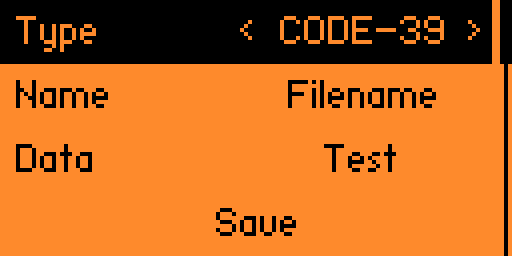
- To create a barcode click on
Create Barcode - Next select your type using the left and right arrows
- Enter your filename and then your barcode data
- Click save
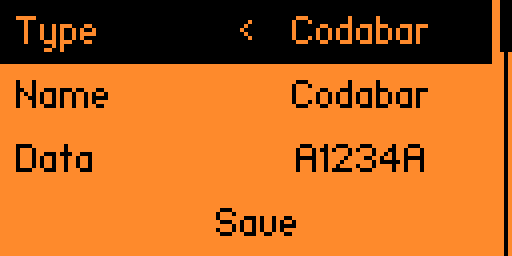
Note: For Codabar barcodes, you must manually add the start and stop codes to the barcode data
Start/Stop codes can be A, B, C, or D
For example, if you wanted to represent 1234 as a barcode you will need to enter something like A1234A. (You can replace the letters A with either A, B, C, or D)
Editing a barcode
- To edit a barcode click on
Edit Barcode - Next select the barcode file you want to edit
- Edit the type, name, or data
- Click save
Deleting a barcode
- To delete a barcode click on
Edit Barcode - Next select the barcode file you want to delete
- Scroll all the way to the bottom
- Click delete
Viewing a barcode
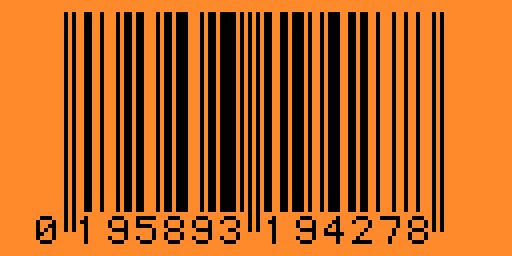
- To view a barcode click on
Load Barcode - Next select the barcode file you want to view
Screenshots
Credits
- Kingal1337 - Developer
- Z0wl - Added Code128-C Support
- @teeebor - Menu Code Snippet
[1] - supports Set B (only the characters from 0-94). Also supports Set C


