| .. | ||
| authentication.js | ||
| README.md | ||
| upload.js | ||
Get started with examples
Learn how to install Playwright, set up your dev environment, and read through example recipes. Use the API reference for more exhaustive documentation.
Installing Playwright
Playwright is a Node.js library and can be acquired through the npm registry. Use npm or yarn to install Playwright in your Node.js project.
npm i playwright
Once installed, you can require Playwright in your Node.js scripts, and launch any of the 3 browsers (chromium, firefox and webkit).
const { chromium } = require('playwright');

(async () => {
  const browser = await chromium.launch();
  await browser.close();
})();
Setup dev environment
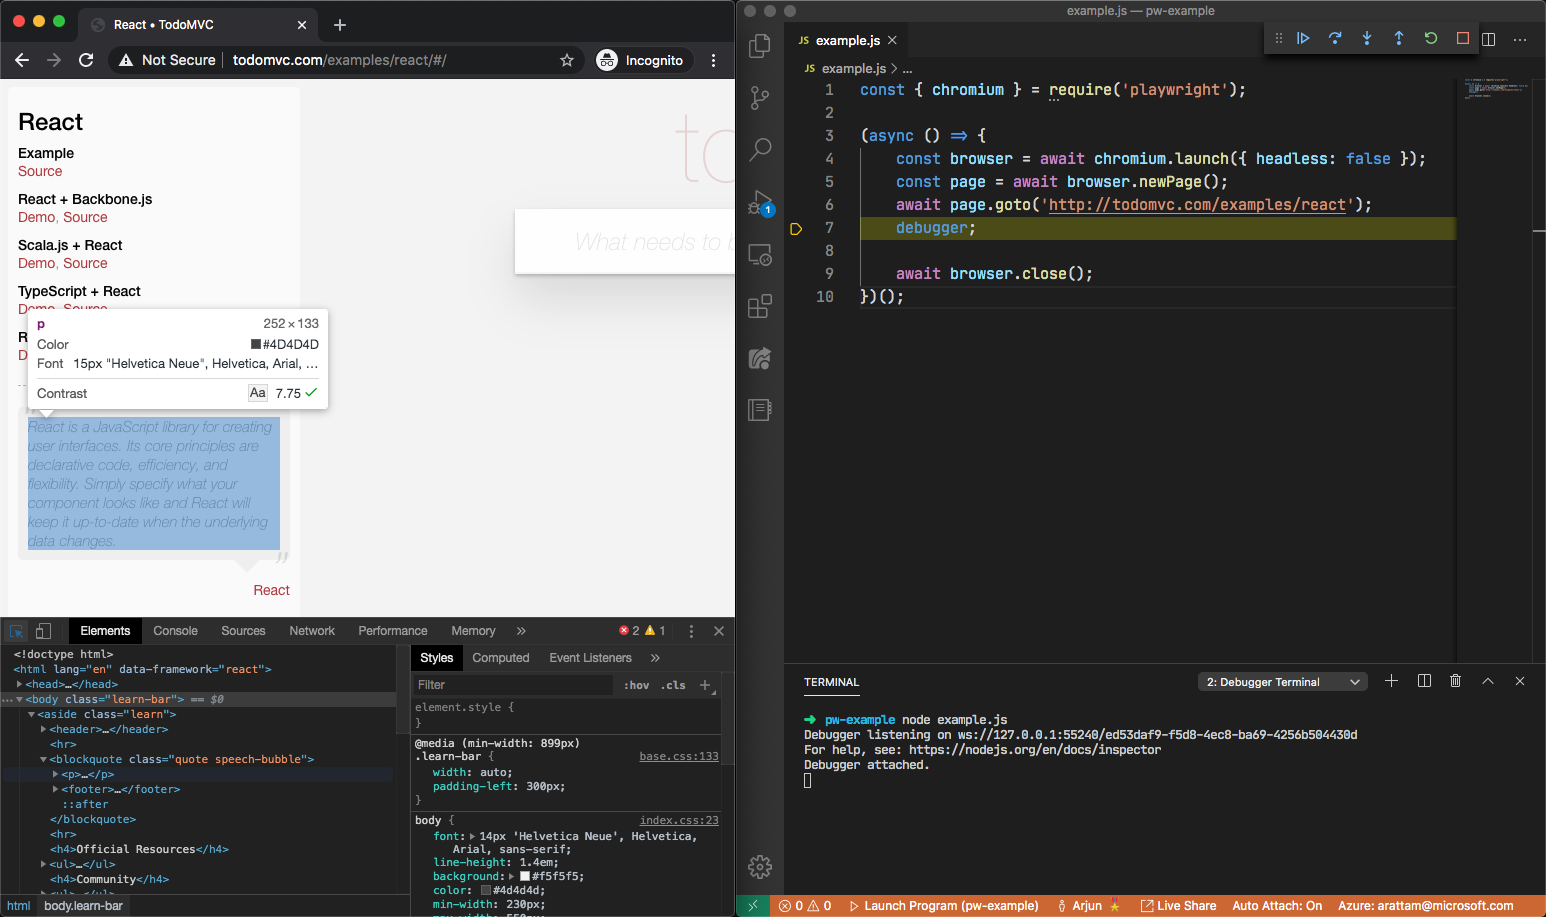
Playwright scripts can be developed just like any other Node.js script. For example, you can use the Node.js debugger or VS Code debugging to set breakpoints and get fine grained control over execution.
Running browsers for debugging
By default, Playwright runs the browsers in headless mode. To see the browser UI, pass the headless: false flag while launching the browser. You can also use slowMo to slow down execution.
chromium.launch({ headless: false, slowMo: 50 });
It is also possible to open browser developer tools during execution, to inspect the DOM tree or network activity. This is possible in Chromium, Firefox and WebKit.
Core concepts
- A
Browserrefers to an instance of Chromium, Firefox or WebKit browsers. - A
BrowserContextis an isolated incognito session within a browser instance. Browser contexts are fast to create and can be used to parallelize isolated test executions. - A
Pagerefers to a single tab within a browser context, which includes one or moreFrameobjects.
Working with elements
-
Selector engines: Playwright can query elements on a web page through multiple selector engines like CSS, HTML attributes, XPath and text contents.
-
Actions on elements: Use methods like
page.clickorpage.fillto execute actions on elements.- Auto-wait for elements: These actions auto-wait for the element to be ready. If these actions result in page navigations, they are also awaited automatically.
// Wait for element to be ready, click it and wait for navigations (if any) await page.click('text="Login"'); -
Use the
page.waitForSelectormethod to explicitly wait for elements.// Explicitly wait for the #search field to be present in the DOM const search = await page.waitForSelector('#search'); // Retrieve the query value from the element const query = await search.evaluate(element => element.value); -
Assertions on elements: Use
page.$to get the element from the page andpage.$evalto run a JS function in the execution context of the page.- These can be used to assert element properties, like visibility or text contents.
- These methods behave similar to the
$operator in DevTools console or jQuery. They fetch the element from the page without waiting. If required, usepage.waitForSelectorandevaluateinstead, as described above.
// Get value of the #search field
const query = await page.$eval('#search', element => element.value);
Example recipes
Authentication
This script logs in on GitHub.com through Chromium, and then reuses the login cookies state in WebKit. This recipe can be used to speed up tests by logging in once and reusing login state.
File uploads
This script uploads a file to an input element that accepts file uploads.
